
Requirement:
In this blog, we will learn to create a Canvas App to get a response from Chat GPT by using the chat GPT API key.
Implementation:
- Go to https://make.powerapps.com.
- Sign into Power Apps.
- Click on “Custom connectors.”
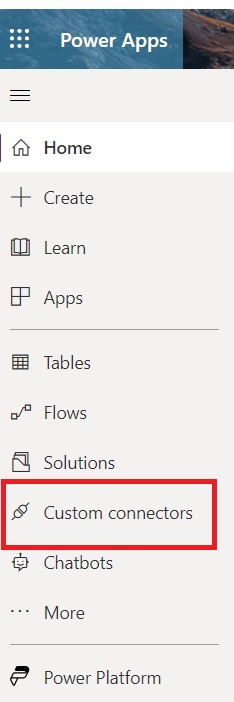
- Click on “+New custom connector.”
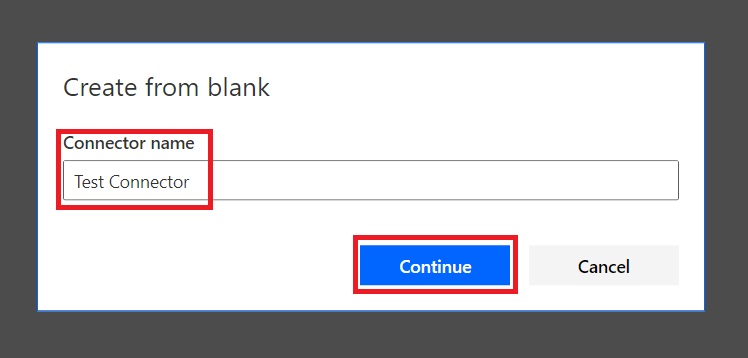
- And select “Create from blank.”

- Give a title to your connector.
- Click on “Continue.”
- Add an icon and description.
- In scheme select “HTTPS.”
- Host: api.openai.com
- Now click on “Security.”

In “Security” fill the following:
- Click on “Edit.”
- Select “API Key” in the authentication.
- Parameter label: API Key.
- Parameter name: Authorization.
- Parameter Location: Header.
- Now go to “Definition.”

- Create a “new action.”
- Provide a name to the Chat GPT API.
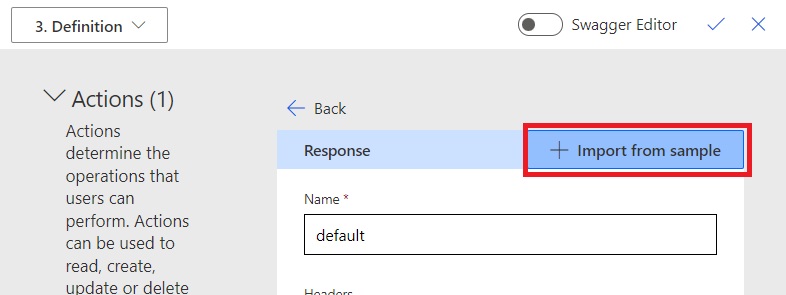
- Add “Operation ID.”
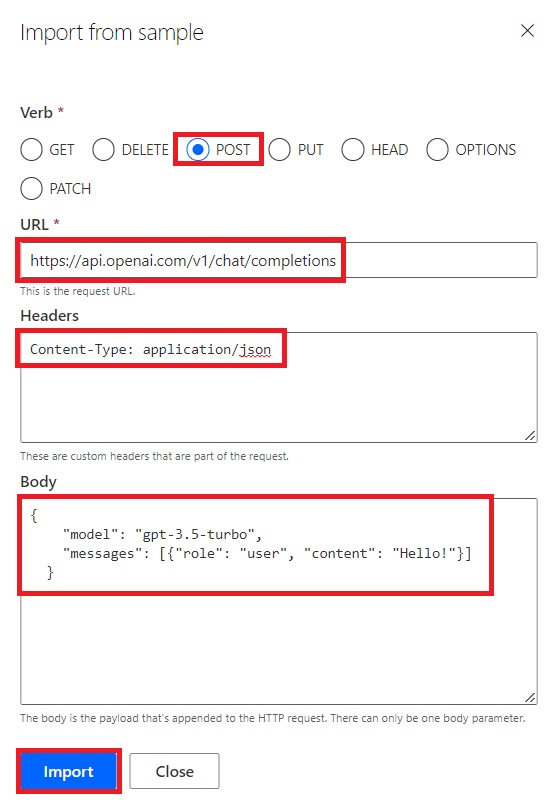
- Now click on “Import from sample.”

- Select the “Post” method.
- URL: “https://api.openai.com/v1/chat/completions”
- Header:
"Content-Type: application/json" - Body:
      {
        "model": "gpt-3.5-turbo",
        "messages": [{"role": "user", "content": ""}]
      }
- Click on “import.”
- In request, there is a header “Content-type.”
- Click on the Content-type -> Edit.

- Add a default value “
application/json.” - Make it “Required” & “Internal.”
- Go back.

- Now click on “body.”
- Make it “required.”
- And set visibility at “Important.”
- Do the same with “Content”, “Role”, and “Model.”

- Now go to “Test” and create a “Test connector.”

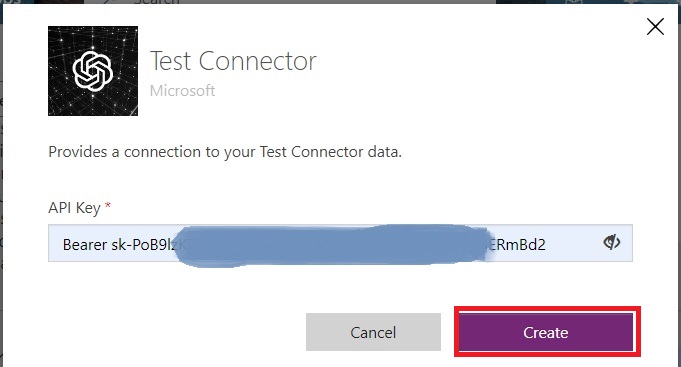
- Now you need an “API Key.”
- To get an API key, refer to the link below.
- API Key: (Bearer API key).
- Now open your custom connector.
- Click on “Edit.”
- Go to the “Test.”
- Fill model “gpt-3.5-turbo.”
- Role as “User.”
- In “content” ask your question.
- Click on “Test operation.”

- You can see the Chat GPT response in the “response body.”
- Now copy the “Response body.”

- Go back to the “Definition.”
- In the response section, click on “default.”
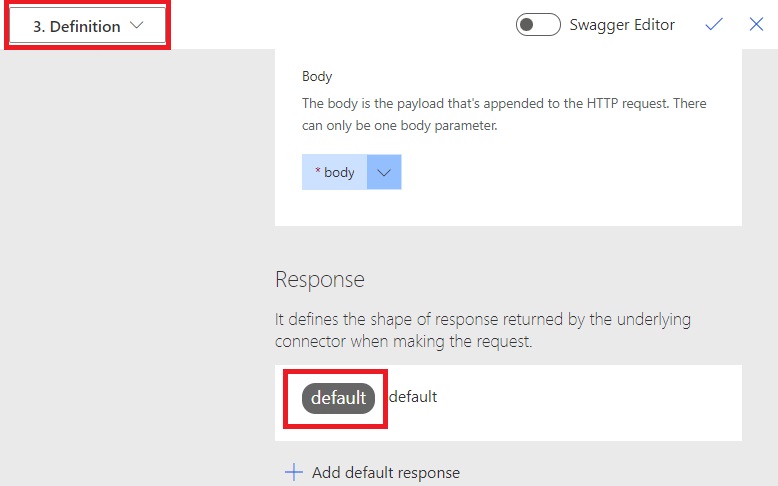
- Click on “+Import from sample.”
- Paste the “Response body.”
- And click on “Import.”
- Now update your custom connector by clicking “Updateconnector.”

Let’s create a Canvas App.
- Go to https://make.powerapps.com.
- Sign into power apps.
- Click on “Apps” from the left navigation panel.
- “+New app,” Select “Canvas.”
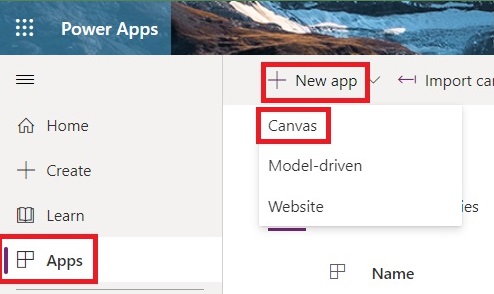
- Give a title to your Canvas app.
- Select any format.
- Click on “Create.”

- Click on “Insert.”
- Add a “Text input” and “Send” icon.

- On the “OnSelect” property of the icon, write this function.
- Set(varResponse,TestConnector.ChatGPTAPI(“gpt-3.5-turbo”,”gpt-3.5-turbo-0301″,Collect(colChats,{role:”user”,content:TextInput1.Text})));Collect(colChats,First(varResponse.choices).message);Reset(TextInput1)
- Now add a “Flexible gallery.”
- Click on Gallery and go to the property pane of the gallery.
- Set the layout as “Blank.”
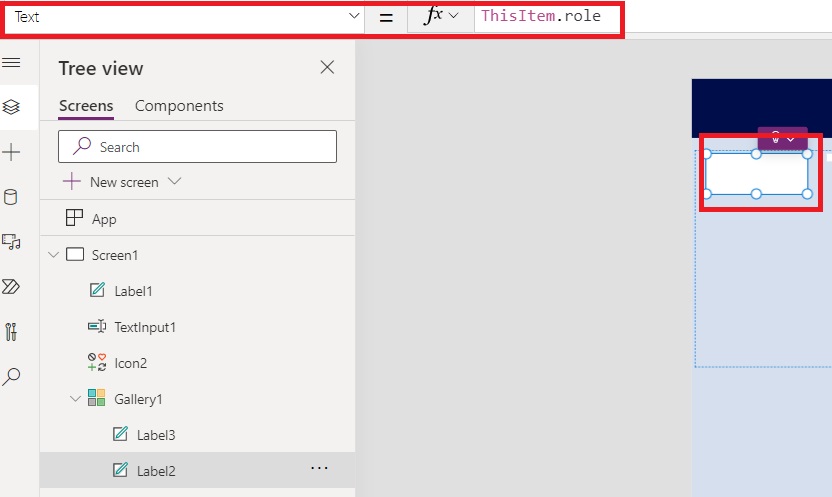
- Edit a gallery.
- Add two “Text label.”

- Turn on the “Auto height” of “label3.”
- And write “ThisItem.content” on the “text” property of label.

- On the text property of “Label2”, Write “ThisItem.role.”
- Save and publish your app.
Output:

Hope it helps!
Power 365ing as usual!
Any requirements, implementation or consulting work in Power Platform or Dynamics 365 – end user, Microsoft partner or an individual?
Problem Area – Technical, Functional, Training, Development or consulting?
Me and my team are here to assist, please fill the following form for your business needs: Click here

